Overview
Connecting your projects to Plant Vision is a straight-forward, user-friendly process.

- Download and install the Plant Vision Desktop application
- Configure Project
- Publish the project
Download & Installation
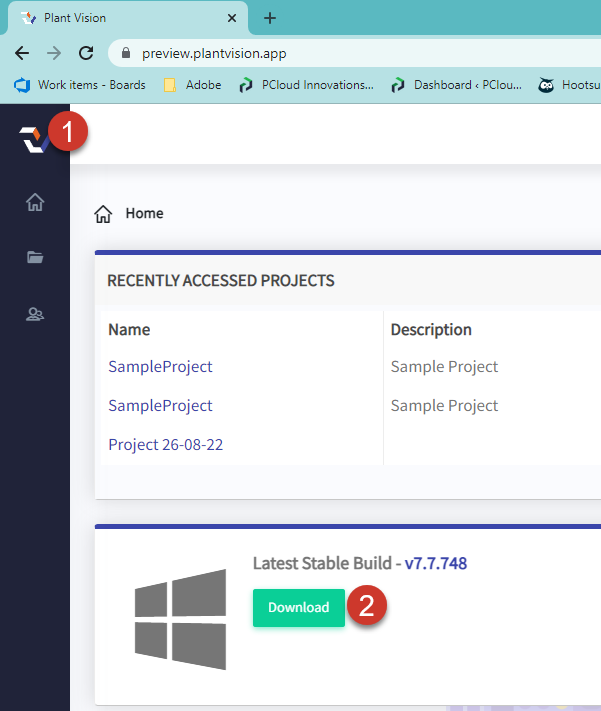
Once your account has been created, you will be able to log into https://preview.plantvision.app. Your first step is to download and install the Plant Vision Desktop application onto a machine that has access to your project (hereby known as the job processor).
We recommend using a virtual machine, or perhaps an old machine. The machine specs needs to be high enough to install the authoring applications needed for your project and files (see machine specs here and here). For example, if my project is using Plant 3D 2023, you will need to install Plant 3D 2023 on the job processor.
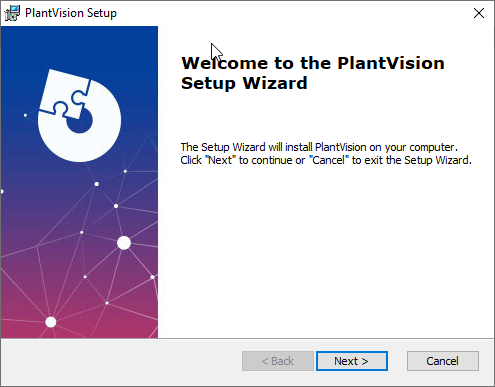
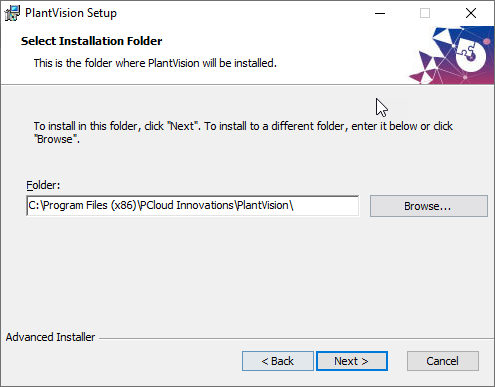
Run the downloaded installer. On most machines you will be prompted to enter administrator credentials via the UAC. Run the installer wizard accepting the default settings.
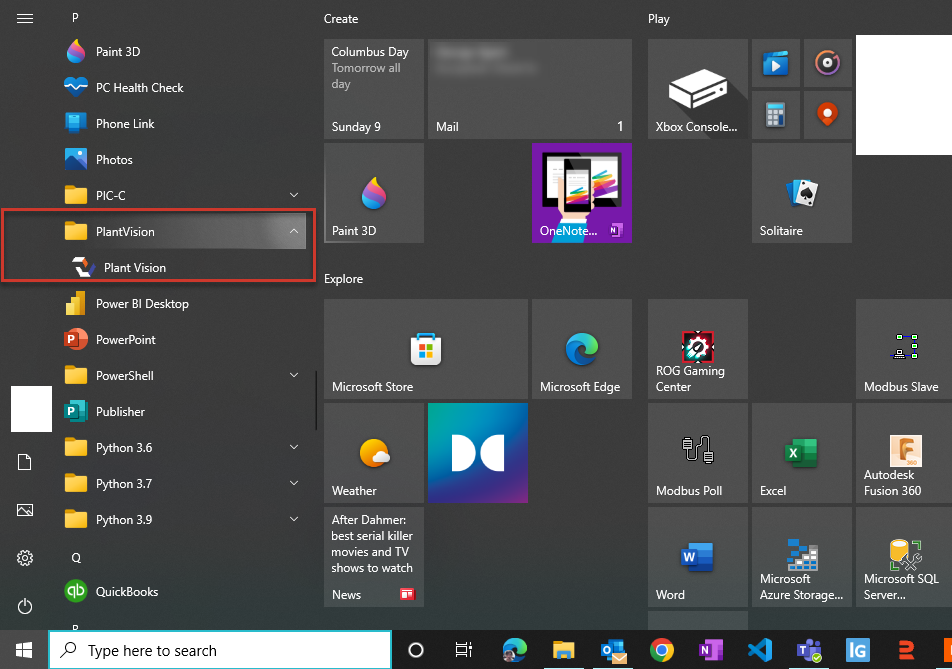
 Fifth Screen
A successful installation will create a shortcut in your programs menu.
Configure Project
Launch Plant 3D. After a successful installation, you should find the Plant Vision tab in your ribbon.
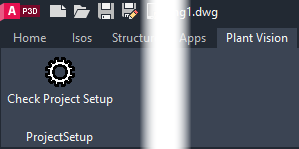
When you open your project, you should get notified to set it up for Plant Vision. The setup process allows you to track when items are created and modified, and who performed those actions. Also, you will be able to use the tools inside of Plant 3D to interact with the Plant Vision website users. Click the hyperlink to configure your project.

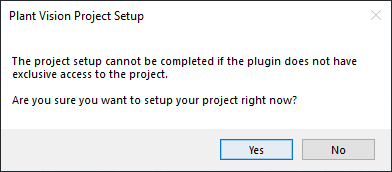
You will get a prompt verifying you want to modify the project setup.
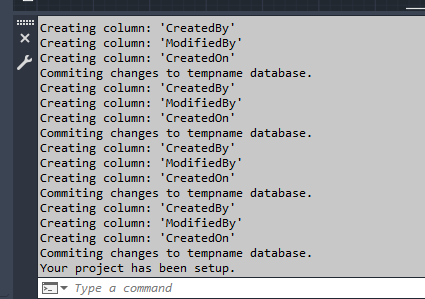
You will also be notified of the changes made at the command line.
Publish the Project
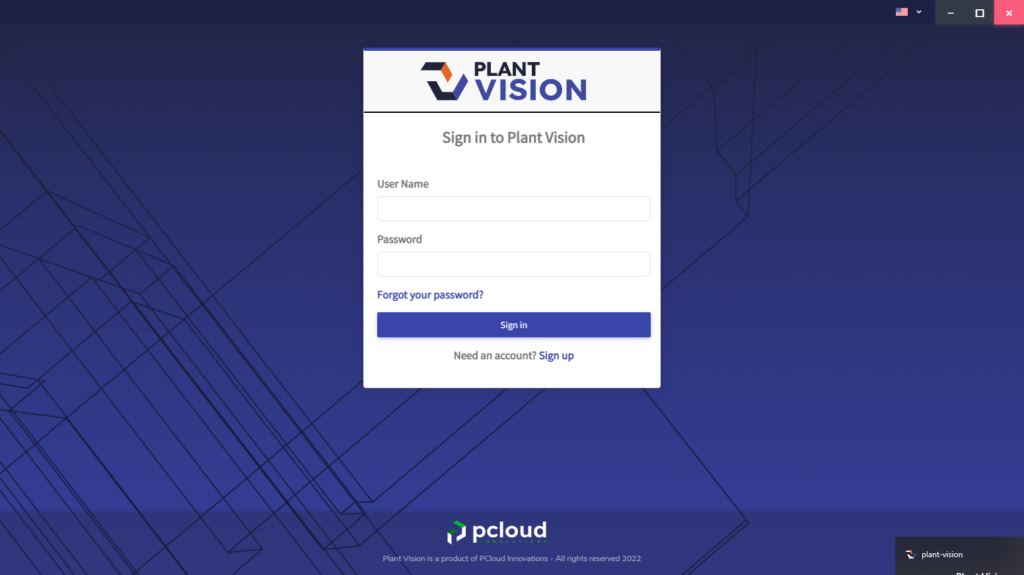
Launch Plant Vision, and sign in using the same credentials that you used to login to the website.
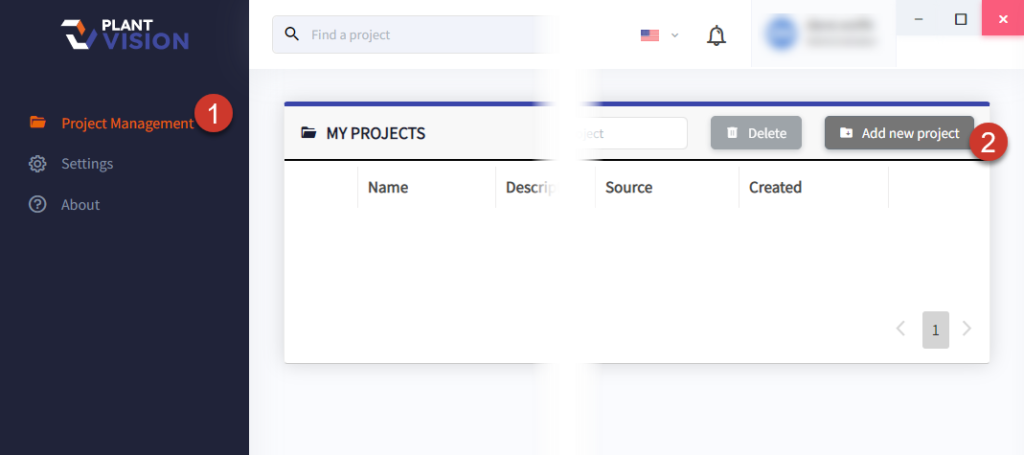
Then in the project management tab (1), use the Add new project button (2), to locate a project on your local machine or server.
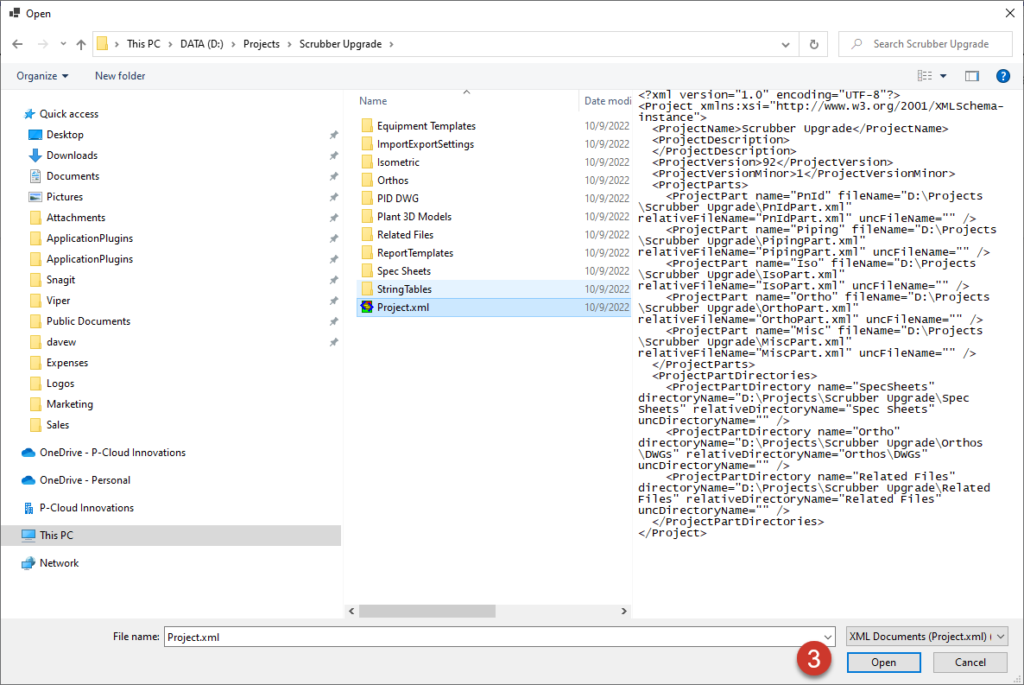
Browse to your project location (3).
Customize your publish settings by changing whether the project will auto-publish (4), choosing the scheduled days [daily or weekdays only (5)], hourly frequency (6), adding additional files to upload (7), and finally clicking Publish Project (8).

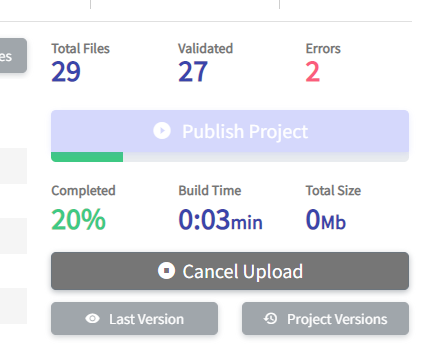
A properly setup project will start the processing of extracting data and uploading to the web application. You do not have to exit your Plant 3D project. The publish process will do a read-only copy of the file at its last save point prior to uploading it.
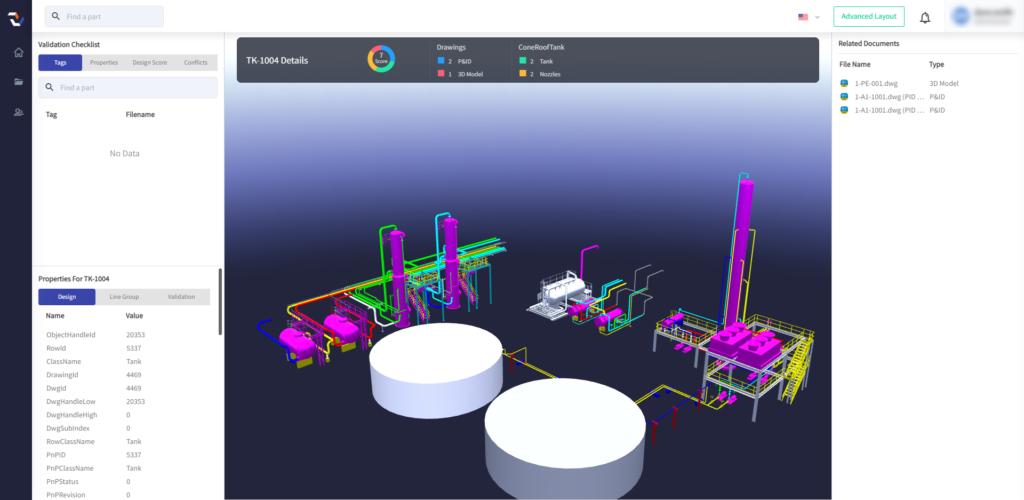
When the project version is published, the progress bar will show 100% completion (9), and you can click Last Version (10) to view the project online.
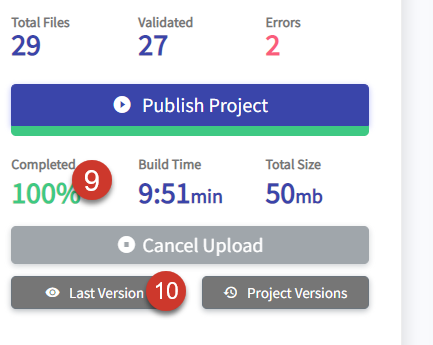
The latest version will open up in your web browser and you can review the project information.